


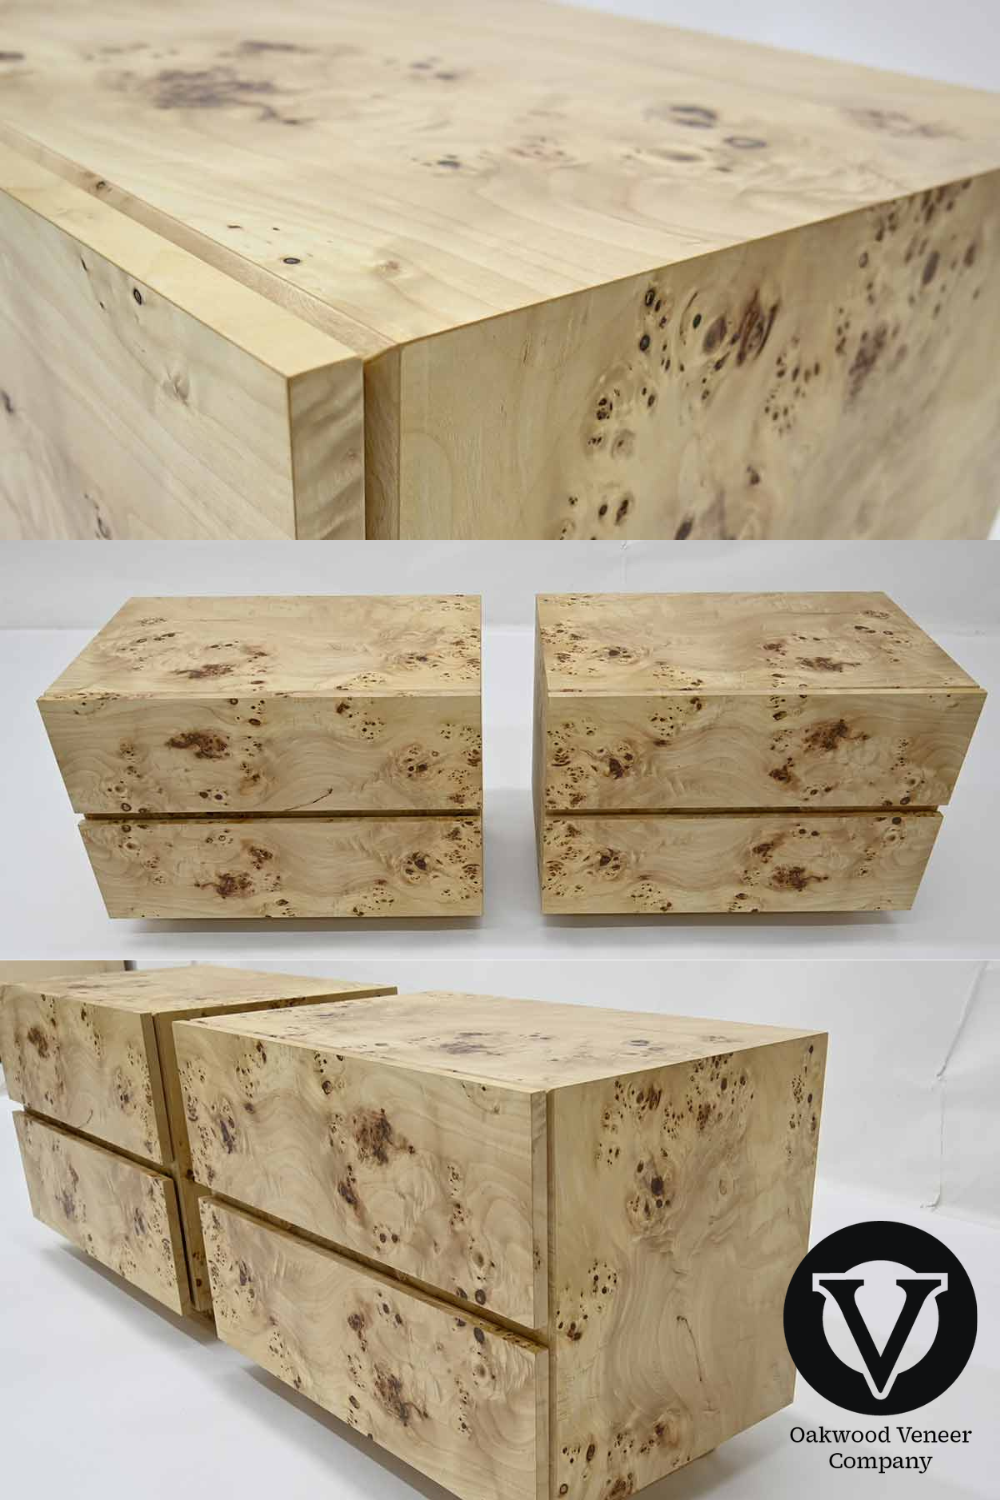
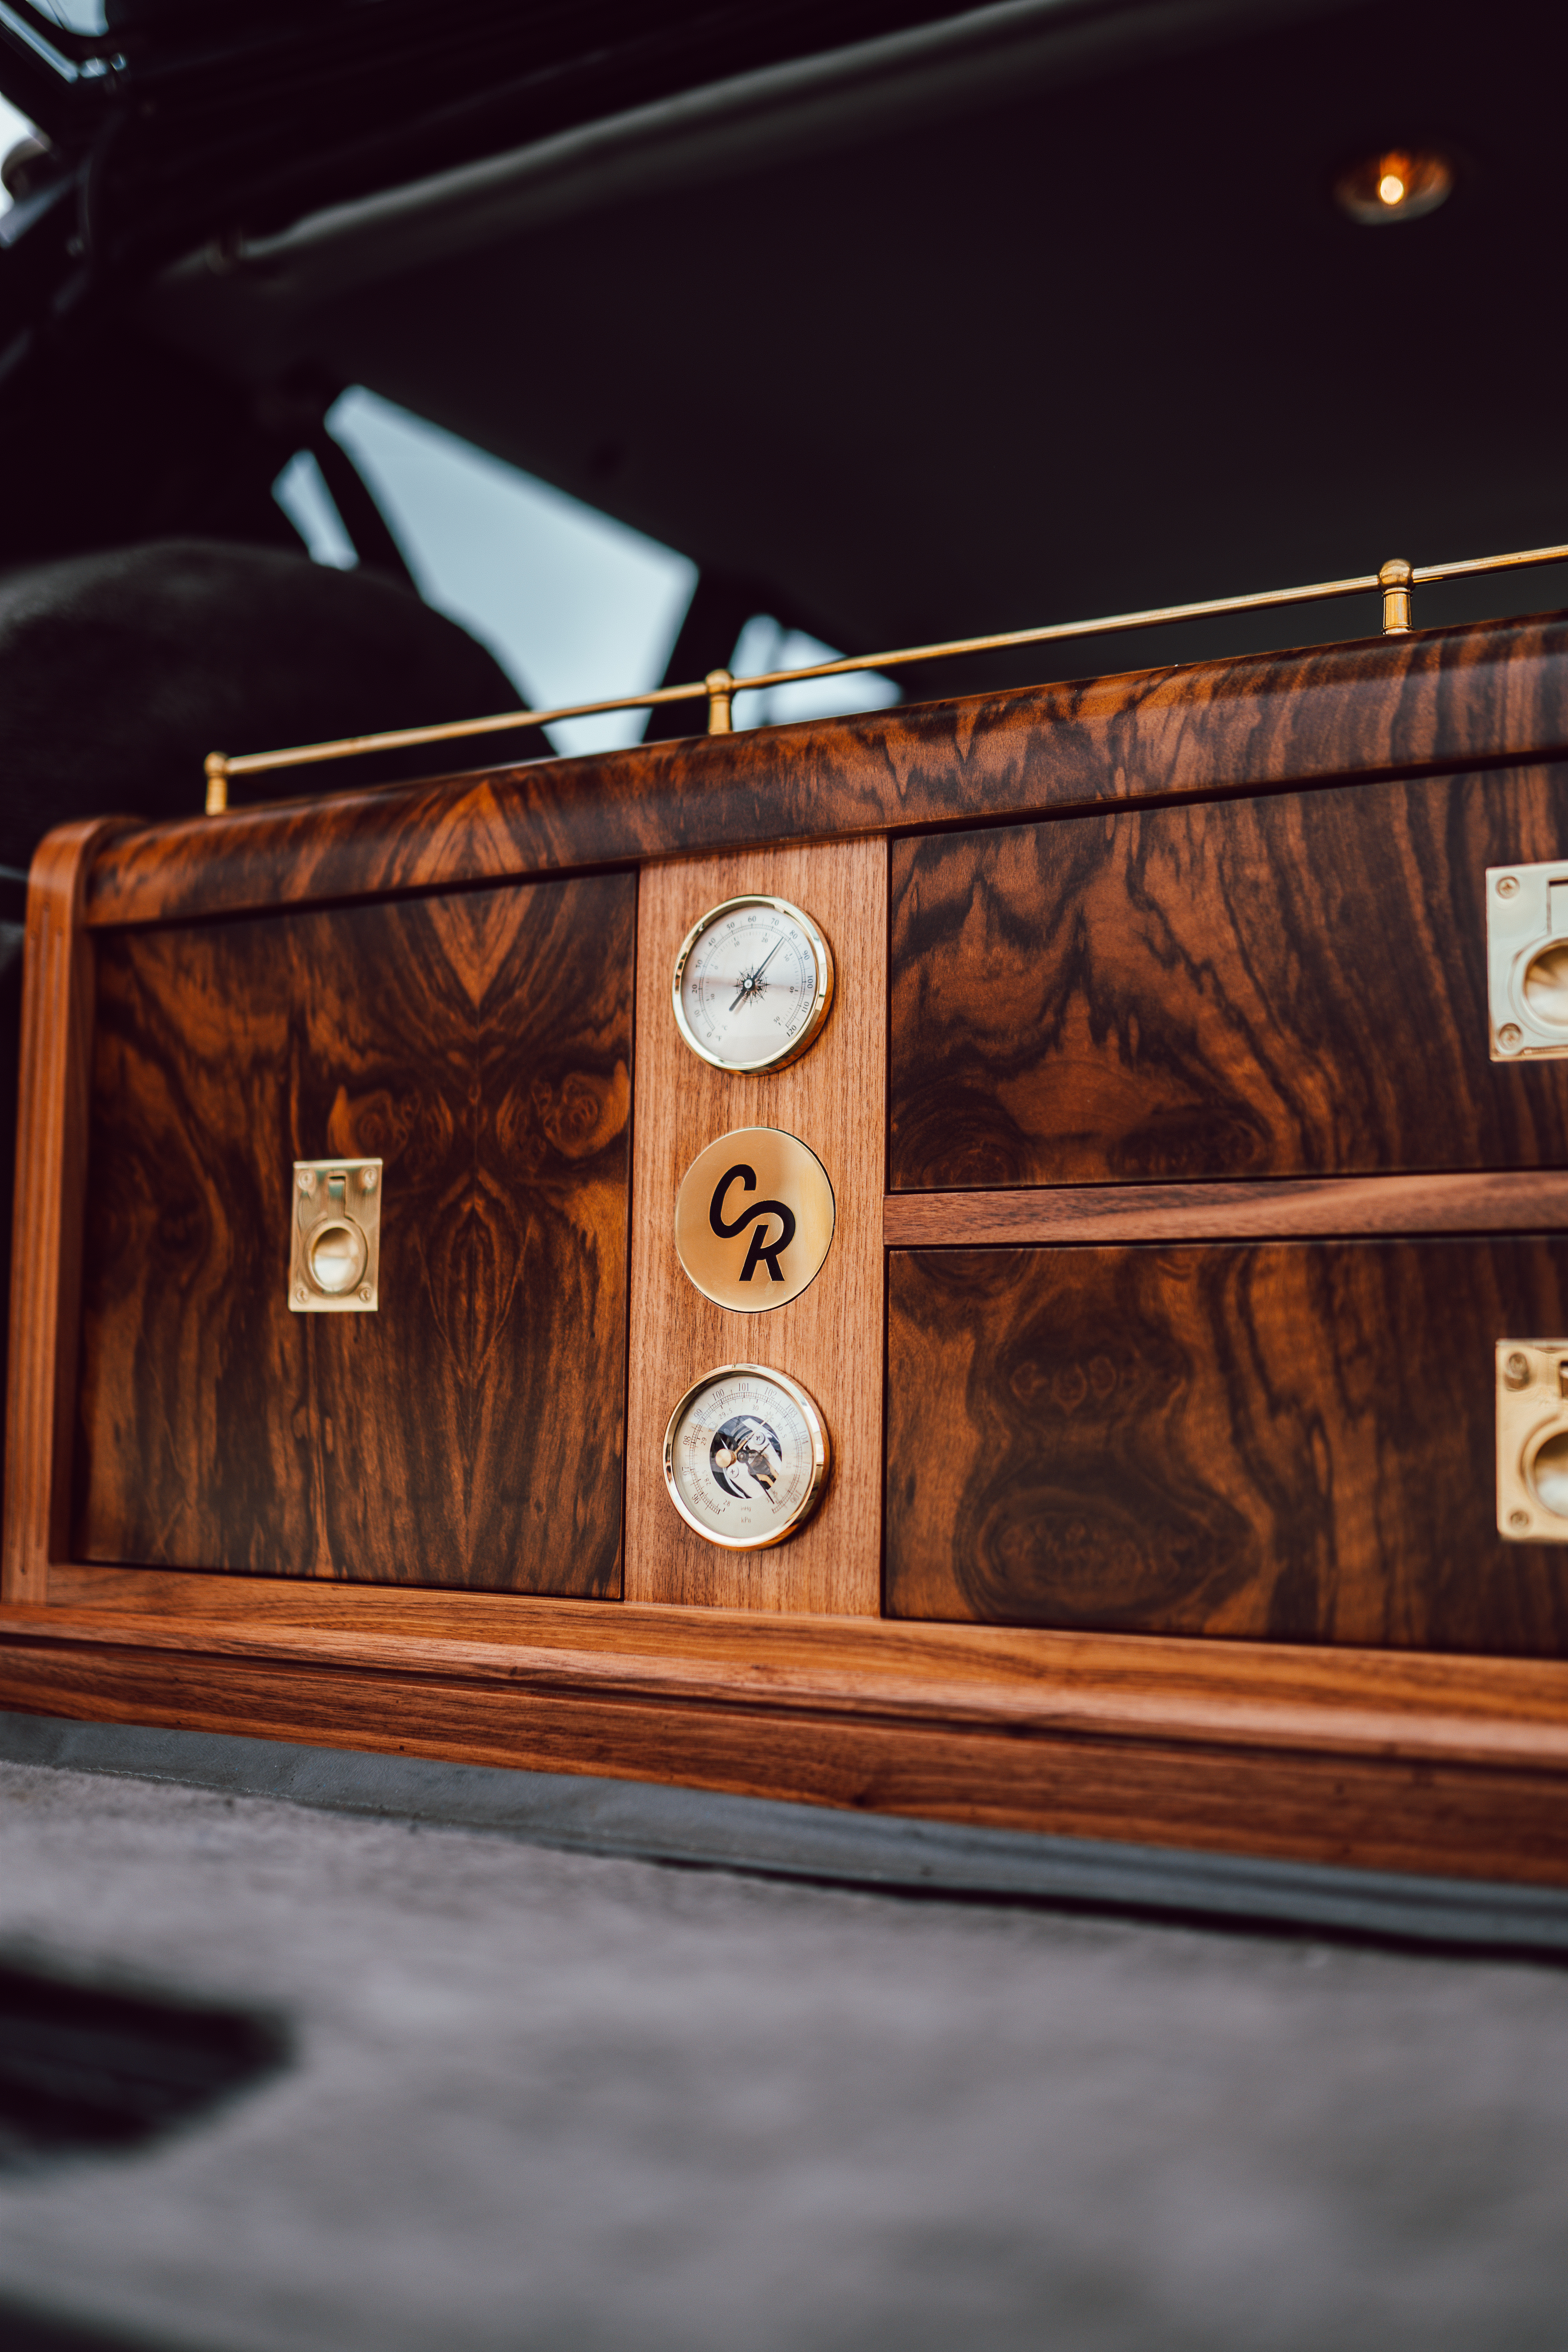
In the world of fine furniture, a high-grade burl—whether it’s the swirling "eyes" of Mappa Burl or the smoky depths of Walnut Burl—represents the ultimate in natural artistry. However, for the woodworker, burl wood veneer sheets are notorious for being brittle, wavy, and prone to cracking. Because burl grain grows in a chaotic, non-linear fashion (often the result of stress, injury, or viral growth in the tree), it doesn't expand or contract like a standard board. It moves in every direction at once.
The Burl Challenge: Moisture and "Memory"
When you open a sequence of raw burl veneer, you’ll likely notice it isn't flat. It looks like a topographical map of the Swiss Alps. If you try to force this wavy wood into a press or scrape it down with contact cement while it’s dry, it will simply shatter. The wood has a "memory" of its distorted growth, and to work with it, you must first "relax" those fibers.
The Professional Softening Protocol
To flatten burl veneer, you need a "veneer softener." While commercial products are available, many old-school shops use a "Three-Part" homemade solution that provides more control over the drying rate.
The Shop-Made Recipe:
- 2 parts Glycerin (this keeps the fibers flexible once dry).
- 2 parts Denatured Alcohol (this helps the solution penetrate and then evaporate).
- 1 part Water (the primary softening agent).
- 1 part PVA glue (optional, acts as a sizing agent to stabilize the grain).
The Workflow:
- Application: Lightly mist both sides of the burl. You don't want to soak it—just dampen it. Over-saturating can lead to mold or extreme shrinkage later.
- The Flattening Sandwich: Place the dampened burl between sheets of clean newsprint or kraft paper. Avoid colored inks which can transfer to the wood.
- The Pressing: Place the paper-and-wood sandwich between two flat pieces of 3/4" MDF. Apply heavy weight or put it into your vacuum press (under low pressure).
- The Cycle: This is the most important part. Change the paper every 2-4 hours. You are wicking away moisture. If you leave the damp paper too long, the wood will wrinkle as it dries unevenly.
- The Result: Within 24 hours, the burl will be "leathery" and flat. You must glue it up within a few hours of reaching this state, or it will begin to "potato chip" again.
Adhesives for Burls: Managing Bleed-Through
Burls are technically full of holes. Every "eye" in a Birdseye Maple Veneer or Redwood burl is essentially a tiny knot that can have a microscopic gap.
- The Problem with Contact Cement: It’s too thick to penetrate and too flexible to hold the internal tension of a burl. As the seasons change, the burl will try to move, and contact cement often "creeps," leading to hairline cracks on the surface.
- The Solution (PVA + Wood Flour): We strongly recommend PVA glue and a Vacuum Press for burls. To prevent "bleed-through" (where glue seeps through the holes and ruins your finish), mix a bit of "wood flour" or very fine sanding dust from the same species into your glue. This thickens the adhesive and creates a natural-colored plug for the pinholes.
At Oakwood Veneer, we do the flattening for you. Then we put it on double paper backing which lies flat making your job easy and professional looking.
Comparison: Burl Species Characteristics
|
Burl Species |
Texture |
Fragility |
Best Use Case |
|
Walnut Burl |
Dense/Oily |
High |
Inlays, Jewelry Boxes |
|
Mappa (Poplar) |
Soft/Porous |
Medium |
Conference Tables, Large Panels |
|
Redwood Burl |
Coarse/Brittle |
Very High |
High-End Automotive Trim |
|
Maple Burl |
Extremely Hard |
High |
Instrument Faces, Luxury Furniture |