Preventing Tearout in Birch Veneer
May 2nd 2024
Picture this: you’re working with birch veneer, and you’ve completed applying it to the substrate. All you need to do now is trim the edges, sand and finish, and your project’s complete.
You pass the router along the edge of the veneer to trim it. Or perhaps you use a saw. But when you finish the pass - there are small rips along the edge of the grain, and worse yet, they extend inward from where you made the cut.
You’ve just experienced tearout, an irreversible blemish on your veneer project. You can try to cover it up, but the only real course of action you have is to remove and replace the veneer.
It is a costly blemish, but one that can be avoided. Let’s cover our bases.
What Is Tearout? What Causes Tearout?
Tearout occurs at the edge of a piece of wood, where the fiber of the wood being cut is not adequately supported by its own structure against the tool working against it.
It usually occurs near the endgrain, but when working with veneer, it can, in theory, occur along any edge where a cut is being made, regardless of whether the grain is or is not parallel to the edge of the veneer sheet or panel.
What happens is this. Wood is made up of long strands of lignin fibers bound together with cellulose. Lignin is far stronger than cellulose, which explains why wood is weak across the grain and has a propensity for splitting. Therein lies the problem with tearout.
Wherever a cutting tool makes a cut through a piece of wood - especially with a crosscut, and not so much with a ripcut - the wood fibers are being yanked away, apart from each other. When the cutting implement passes through to the edge, the lignin fibers would rather shear away from their lignin - tearing out - than allow a clean pass-through their fiber.
And so, we are left with tearout, the little rips at the edge of a piece of wood, where it was cut.
Because of the nature in which saws and routers work, they put wood at a much more significant risk of tearout than tools that use a clean edge, like knives and chisels, but if you are not careful, almost any tool (except shears, which compress the fibers) can cause tearout.
Even so, regardless of the tools you use, you should always observe some best practices to avoid this issue.
Do All Wood Species Experience Tearout?
Before proceeding further, a word on variety of veneer should be offered to shed some light here. Tearout is generally a more common issue with softer woods like poplar, pine and birch veneer, because the wood is not as strong as it is in harder species.
However, any species can exhibit tearout, even stronger, harder species like oak, hickory, ash, and exotics. With that said, the harder and stronger the wood, and the more interlocked the grain is, the less likely tearout is. This makes species which have a tight, interlocked grain structure, and burl veneers, which are very hard, dense, and irregular, less likely to tearout.
How to Prevent Tearout When Working with Birch Veneer

There are several ways to lower the risk of tearout occurring in your birch veneer when you work with it.
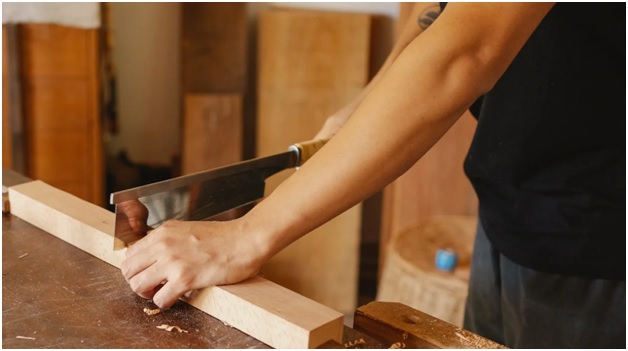
One of the best ways is to avoid the use of saws and routers. The motion of these tools produces a much higher risk of tear.
The reciprocating motion of a saw blade, and the circular motion of the router, create a percussive influence that encourages the wood to tear out - especially, for instance, when you draw the saw backward before bringing it forward to make the next cut. This shears the fibers apart, weakening the cellulose binding them and creating an environment in which tearout is dreadfully likely.
The easier thing to do here is to avoid the use of saws and routers. Veneer is thin and does not require the use of these tools anyway. However, if you must use them, or have no other cutting tools available, you can use another piece of wood, known as a “sacrificial fence” to support the veneer fibers as you cut them. This will require you to cut through both the veneer and the sacrificial fence (hence the name) as you work.
When using toothed tools, another technique is to scribe the wood. Scribing refers to the process of making small, partial cuts through the wood in order to serve as a guide and “pre-sever” the fibers before making the final cut. If you have the edged tools available to make a scribe, however, you may as well just use them to make the cut, and pass on the router or saw!
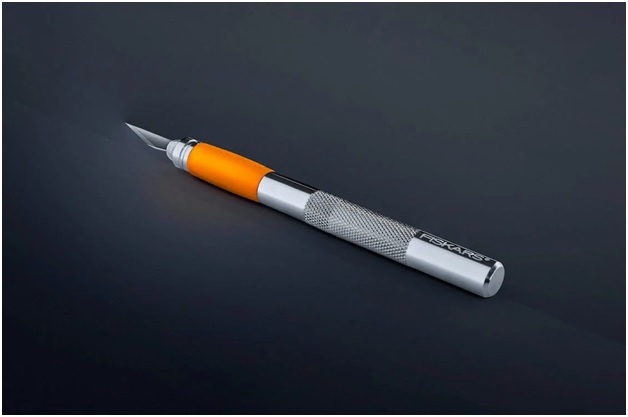
You don’t need anything specialized for this, just a craft knife, and the sharper, the better. Scribing here is also necessary as it will help you pass through the veneer cleanly, without forcing anything.

Score the surface of the veneer lightly along the edge where you intend to make the cut. Many small, shallow passes are better than one forceful, abrupt attempt to cut all the way through. Doing so runs a higher risk of damaging the veneer and can also encourage tearout, which we are trying to avoid.
Once you’ve made a few scribes along the veneer where you intend to make the cut, press harder with each successive pass until you are through the wood face of the veneer and the backer.
The edge should be pretty smooth and tearout-free, but if there’s any tooth to it, you can use a small piece of high-grit sandpaper to smooth it over, leaving a clean finished edge.
There you have your birch veneer - tearout free and ready to be sanded and finished!
Get Ready with High-Quality Birch Veneer for Your Next Woodworking Project
Getting ready to start your next project? If you’re working with a soft wood like birch veneer, make sure you heed these tips against tearout.
And, of course, start with high quality veneer, like what you will find here at Oakwood Veneer. Take a look through our catalog and get in touch with us if you have any questions before starting.
